Your music is the one thing no controller, club rig, or clever transition can replace. Before you obsess over gear, you need a personal collection of tracks you own, trust, and know inside out. This guide walks a complete beginner through where to get music legally, how to judge its quality, how to tag and organize it in your DJ software, and how to protect it so it never disappears the night before a gig.
Where to Get Music Legally
There is a whole supply chain built for DJs that sits outside the world of consumer streaming. The four mainstream legal routes are download stores, record pools, streaming-into-software services, and ripping your own physical media.
Download stores let you buy individual tracks and keep them forever. Electronic-focused stores sell each release in several formats and qualities; a typical store offers a 320 kbps MP3 plus lossless WAV and AIFF options, with the lossless files delivered at master-quality 16-bit/44.1 kHz. Buying gives you a permanent file that lives on your drive whether or not you keep paying a subscription.
Record pools are subscription services aimed squarely at working DJs. As BPM Supreme describes them, record pools exist to give working DJs priority access to the newest music supplied by the major labels. For a flat monthly fee you get unlimited downloads of a constantly updated catalogue, and — crucially — DJ-ready versions you cannot get on consumer platforms: extended 8-bar intros and outros, clean (radio) and explicit edits, instrumentals, acapellas, transitions, and exclusive remixes. Pools such as BPM Supreme, DJcity, and ZipDJ deliver tracks as tagged 320 kbps MP3s and license the music for professional DJ use. Note that the open-format service Beatsource has merged into Beatport, consolidating open-format and electronic catalogues into one platform.
Streaming-integration services pipe huge catalogues directly into DJ software so you can search, audition, and play without buying each track first. This is excellent for discovery and for handling surprise requests. We will cover its serious live-reliability caveats below.
Ripping your own CDs and vinyl is a legitimate way to digitise music you physically own. Copying CDs you own for personal use is generally treated as acceptable in many jurisdictions, though it sits in a legal grey area that varies by country. Rip CDs at their native 16-bit/44.1 kHz to a lossless format; for vinyl, AIFF is a safe choice because it plays on Pioneer/AlphaTheta CDJs, whereas FLAC is not supported on all CDJ models.
Finally, some DJs expand their library by commissioning or buying ready-made exclusive tracks from producers — so-called ghost production. Done through a legitimate agreement that transfers the rights to you, this is simply another legal way to add unique music to your collection.
A Clear Warning on Piracy
Do not build your library from illegal downloads or YouTube rips. Ripping copyrighted audio from YouTube breaks the platform's terms of service and is illegal in most places, but the practical problem is just as damaging: a YouTube rip is almost always a lossy file re-compressed from another lossy file, so you are stacking compression on compression. On a club's high-end system the dull, smeared result is obvious to the crowd — and to other DJs. Use YouTube to discover a track, then buy a proper copy.
Owned Files Beat Streaming at Gigs
The single most important reliability rule for a beginner: the safest library is made of high-quality files you have downloaded and own. Streaming inside DJ software is powerful but fragile in a live setting.
Most consumer platforms now integrated into DJ apps — including Apple Music and Spotify — have no offline locker at all, meaning you need a constant, stable internet connection to play anything. Venue Wi-Fi is notoriously unreliable, and a track cutting out mid-set is a catastrophe. Even DJ-focused services that do offer offline storage attach restrictions: rekordbox's own streaming FAQ notes that SoundCloud DJ and the TIDAL DJ Extension keep offline tracks playable for only 30 days from the date of storage and require you to reconnect within the renewal window, and that Beatport playback is limited to a single device per account at a time. Offline lockers also cap how many tracks you can store, and streaming services block recording your sets and, on some platforms, stem separation.
Treat streaming as a discovery and emergency-backup tool, not the foundation of your library. When you find something you love, buy it, download it, and add the owned file to your collection.
File Formats and Quality
You do not need to memorise codecs, but you must understand the lossy-versus-lossless split. (For an exhaustive reference, see the dedicated formats article; here is the working knowledge you actually need.)
Lossy formats — MP3 and AAC — permanently discard audio data the encoder judges inaudible, using psychoacoustic models, to shrink file size dramatically. Lossless formats preserve every bit. WAV and AIFF are uncompressed PCM; FLAC is compressed lossless, squeezing files to roughly half size with zero quality loss and, unlike WAV, storing rich metadata.
For lossy MP3, 320 kbps is both the highest standard bitrate — per the MP3 specification, decoders only have to handle streams up to 320 kbit/s — and the accepted minimum for serious DJ use. A 128 kbps MP3 compresses CD audio at roughly an 11:1 ratio and audibly sacrifices high-frequency detail — fine for casual phone listening, not for a PA system. File sizes tell the story: an uncompressed CD-quality WAV streams at 1,411 kbps and runs about 10 MB per minute (so a typical track is around 30 to 40 MB), while a 320 kbps MP3 is only around 2.4 MB per minute.
The recommendation for a beginner: buy lossless (WAV, AIFF or FLAC) when it is offered and within budget, and never go below 320 kbps MP3. Here is the quick decision guide.
| Format | Type | Best use |
|---|---|---|
| WAV / AIFF | Uncompressed lossless | Master-quality files; AIFF holds tags, WAV barely does |
| FLAC | Compressed lossless | Archiving full quality at about half the size |
| MP3 320 / AAC 256 | Lossy | Everyday DJ use when lossless is not available |
| MP3 128 | Lossy (avoid) | Too low for club playback |
Spotting Fake High-Quality Files
A transcode is a low-quality file dressed up as a high-quality one — for example, a 128 kbps MP3 re-encoded into a WAV or FLAC. The container says lossless; the audio inside is still missing everything the original encoder threw away. You paid for a big file with no extra sound in it.
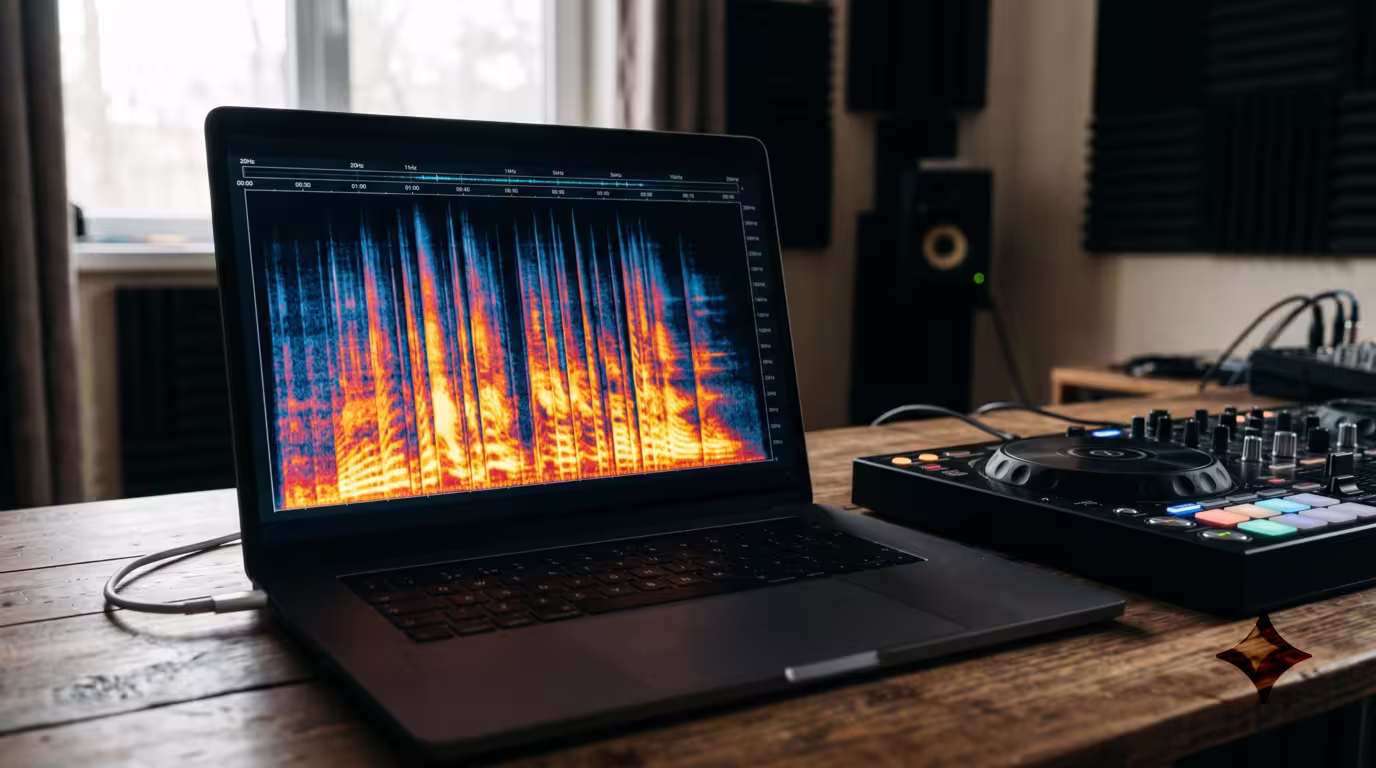
You can catch these visually with a spectrogram. Lossy encoders impose a hard frequency ceiling, and that ceiling survives re-encoding: a 128 kbps MP3 cuts off sharply around 16 kHz, a 320 kbps MP3 around 19 to 20 kHz, while genuine lossless audio from a 44.1 kHz source extends to roughly the 22 kHz Nyquist limit. The free, open-source analyzer Spek renders any file's spectrogram in seconds; a flat black shelf with empty space above a hard line is the fingerprint of a fake. Run a suspect file through it before you trust it in a set.
Metadata and Tagging
Clean metadata is what turns a pile of files into a searchable library. For MP3s this metadata lives in ID3 tags — an embedded container storing fields like title, artist, album, year, genre, track number, comments, and album art. The modern ID3v2.3 standard supports long fields and embedded artwork; the ancient ID3v1 was a 128-byte block that allowed just 30 characters each for title and artist and forced genre from a fixed predefined list. (One quirk: WAV files have almost no native tagging support, which is a real argument for AIFF or FLAC if you care about clean metadata.)
Before a gig you cannot search for what is not labelled, so fix tags as you import: correct artist and title, set a consistent genre scheme, and add a label or year if you mix by era. Then let your DJ software analyse each track. Analysis reads the audio to calculate BPM, detect musical key (for harmonic mixing), build a beatgrid, and draw the waveform. Always trust your ears over the software's automatic BPM, and consider locking corrected tracks so a future bulk re-analysis cannot overwrite your manual fixes.
An Organization System That Scales
The golden rule: keep one master library and let your DJ software manage it. Do not reorganise music by dragging files around in Finder or Explorer after they are imported.
Folders on Disk vs the Software Database
Your operating system's folders and your DJ software's database are two different things. DJ apps do not usually copy your files in — they reference them from wherever they live on disk. Move or rename a folder in the OS and the software loses the link: Serato shows missing tracks in red with a File Not Found message, while rekordbox flags them with an orange exclamation mark. Recovering them means using a relocate tool — Serato's Relocate Lost Files feature, rekordbox's relocate function, or Traktor's right-click relocate — and pointing it back at the files. It works, but it is tedious and can fail if filenames changed or a duplicate already exists in the database. Decide on a simple disk folder structure once (for example, one DJ Music folder), put everything inside it, and from then on do all organising inside the software.
Crates, Playlists, and Smart Lists
Every major app gives you manual containers and rule-based ones. Serato calls them crates and smart crates; rekordbox calls them playlists and Intelligent Playlists; Traktor uses playlists and Smartlists. Manual crates are folders you fill by hand; smart or intelligent versions auto-populate by rules you set — genre is house, BPM over 124, key equals a value, or filename contains clean — and update automatically as you add music. One track can sit in many crates, and crates can nest as subcrates.
Tag by Energy, Genre, and Vibe
Beyond genre, organise by how a track functions in a set. rekordbox's My Tag system ships with Genre, Components, and Situation categories (you can rename them, but you are limited to four categories and 128 tags total) plus colour coding, so you can flag warm-up tracks, peak-time bombs, or weird-breakdown cuts and then filter to them instantly mid-set. Serato users achieve the same with comments, colour labels, and smart-crate rules. A simple starter tag scheme follows.
| Tag dimension | Example values |
|---|---|
| Energy | Warm-up, Builder, Peak-time, Cool-down |
| Vibe | Vocal, Dark, Groovy, Anthem |
| Use | Opener, Closer, Filler, Wildcard |
Back Up Your Library
A hard-drive failure or a corrupted database can erase years of analysis, cue points, and crates in an instant. Back up two things: the music files themselves and the software's database and settings.
Use the built-in tools. rekordbox has File, then Library, then Backup Library, which optionally bundles your music files alongside the database; it also offers a Device Library Backup for the USB sticks you export to CDJs. Serato stores everything in a _Serato_ folder and creates a _Serato_Backup on exit — but it keeps only one backup, overwriting it each time, so it is not a substitute for your own copies. Traktor keeps versioned collection backups you can restore from.
Wrap this in the industry-standard 3-2-1 rule — distilled by photographer Peter Krogh in his 2006 book The DAM Book: keep three copies of your data, on two different media types, with one copy off-site (an external drive plus a cloud backup, for instance). This matters even more now that purchased downloads from some stores cannot be re-downloaded after a platform migration — once a store sunsets, your local copy may be the only copy. When you export to a USB for CDJs, treat that stick as a disposable working copy, never your only copy. (Preparing USBs well is a topic in its own right; see the dedicated guide.)
Curation: Quality Over Quantity
Here is the truth that separates good beginners from frustrated ones: a tight library of 200 tracks you know intimately beats 20,000 tracks you have never heard. When you know your music, you can react to a dancefloor instantly instead of scrolling in a panic.
Build deliberately. Listen to everything you add, all the way through, and tag it while the track is fresh in your mind. Prune ruthlessly — delete or archive tracks that never get played. Resist the record-pool temptation to mass-download hundreds of files a month just in case; volume without familiarity is clutter, not a collection.
A Practical First-100-Track Workflow
1. Create one DJ Music folder on your drive and decide it is the only place music will live.
2. Pick a primary source — a download store for buying keepers, plus a record pool or streaming integration for discovery.
3. Gather around 100 tracks across the few genres and BPM ranges you actually want to play. Buy and download the ones you love at 320 kbps or lossless.
4. Import them into one DJ app and let it analyse BPM, key, and beatgrids.
5. Clean the tags — artist, title, genre — and run anything suspicious through Spek.
6. Build a handful of crates: one per genre or vibe, plus an energy tag scheme.
7. Back up the whole thing (files and database) following 3-2-1 before your first gig.
8. After each set, prune what did not work and add a few new keepers. Repeat.
Key takeaways
• Own your music: buy and download high-quality files; treat streaming as discovery, not a live foundation.
• Never go below 320 kbps MP3, prefer lossless, and use Spek to catch fake transcodes.
• Clean ID3 tags plus software analysis (BPM and key) make your library searchable and mixable.
• Keep one master library managed inside the software; never reorganise files in the OS.
• Back up files and database with the 3-2-1 rule before you ever rely on them at a gig.
• A small library you know cold beats a huge one you do not — curate, do not hoard.
Ready-made, exclusive EDM tracks with full rights — released as your own.
