For most club DJs, soundcheck is not what it is for a band. You rarely get an empty room and a dedicated half-hour to dial things in — instead you arrive, plug into a system that is already running and tuned, and confirm everything works in the seconds you have during the changeover. This article is the practical, arrival-to-ready workflow: assessing the room, setting up in the booth, line-checking your signal, dialing in your monitor and levels, and stepping up to play with confidence.
What soundcheck means for a DJ
A soundcheck, in the traditional sense, is the preparation before a performance to adjust the sound on the venue's PA, where the performer and engineers run through part of the show to make sure the front-of-house and monitor systems are clear, at the right volume, and correctly equalized. That model comes from band shows, where a soundcheck can take an hour and runs through every microphone and instrument.
DJs operate differently. The music source is already a finished, mastered stereo signal, and at a club the PA has usually been tuned for the room long before you arrive. So a DJ's soundcheck and venue setup is really a fast, disciplined routine: arrive, confirm your gear works on the actual rig, set the booth monitor and headphone levels so you can hear yourself, check your levels are healthy, and be ready to play. The goal is simple — reduce the chance of an on-stage disaster and walk up to the decks knowing the music will come out of the speakers when you push the fader.
This article focuses on that on-arrival process. For the technical detail of plugging into the house system — the CDJ-plus-DJM standard, the house mixer, the limiter, and changeover etiquette — see Connecting to a Club Sound System. For the theory of trims, faders and metering, see Gain Staging for DJs. For what to pack and prepare at home, see DJ Set Preparation Checklist, and for cable types and hum, see DJ Cables and Connections.
Arrive early and assess the room
Your gig begins when you arrive, not when you play. Get there with plenty of time — not five minutes before your set. At big clubs it can take surprisingly long to get from the street to the booth, and arriving early lets you meet the promoter or booker, find the staff, and get a feel for the night before you have to perform.
Use that time to read the room. Look at the size and layout, where the booth sits, and where the speakers point. Listen to how it sounds — and remember that an empty room sounds very different from a packed one. A crowd absorbs and dampens sound: a seated listener absorbs roughly 0.45 sabins each at 500 Hz (rising at higher frequencies) per Hidaka, Nishihara and Beranek's 2001 study in the Journal of the Acoustical Society of America, while M. David Egan's Architectural Acoustics puts a randomly-spaced standing audience at about 5 sabins per person at mid frequencies. Researchers Kingsbury and Wallace, writing in Sound and Vibration in 1968, found that informally-dressed people in classroom seating absorb sound substantially differently from formally-dressed audiences in upholstered seating — a difference they attributed to clothing. In plain terms: a venue that sounds bright and reflective during the day becomes noticeably more controlled once it fills with bodies, which is exactly why an empty-room soundcheck never perfectly predicts peak-time sound, and why the engineer keeps adjusting through the night.
Walk over and listen to what the DJ before you is playing, both so you can plan a smooth handover and so you don't repeat tracks they just played. Find out who runs the sound — a resident, a promoter, or a house engineer — and introduce yourself. These are the people who will help you if something goes wrong.
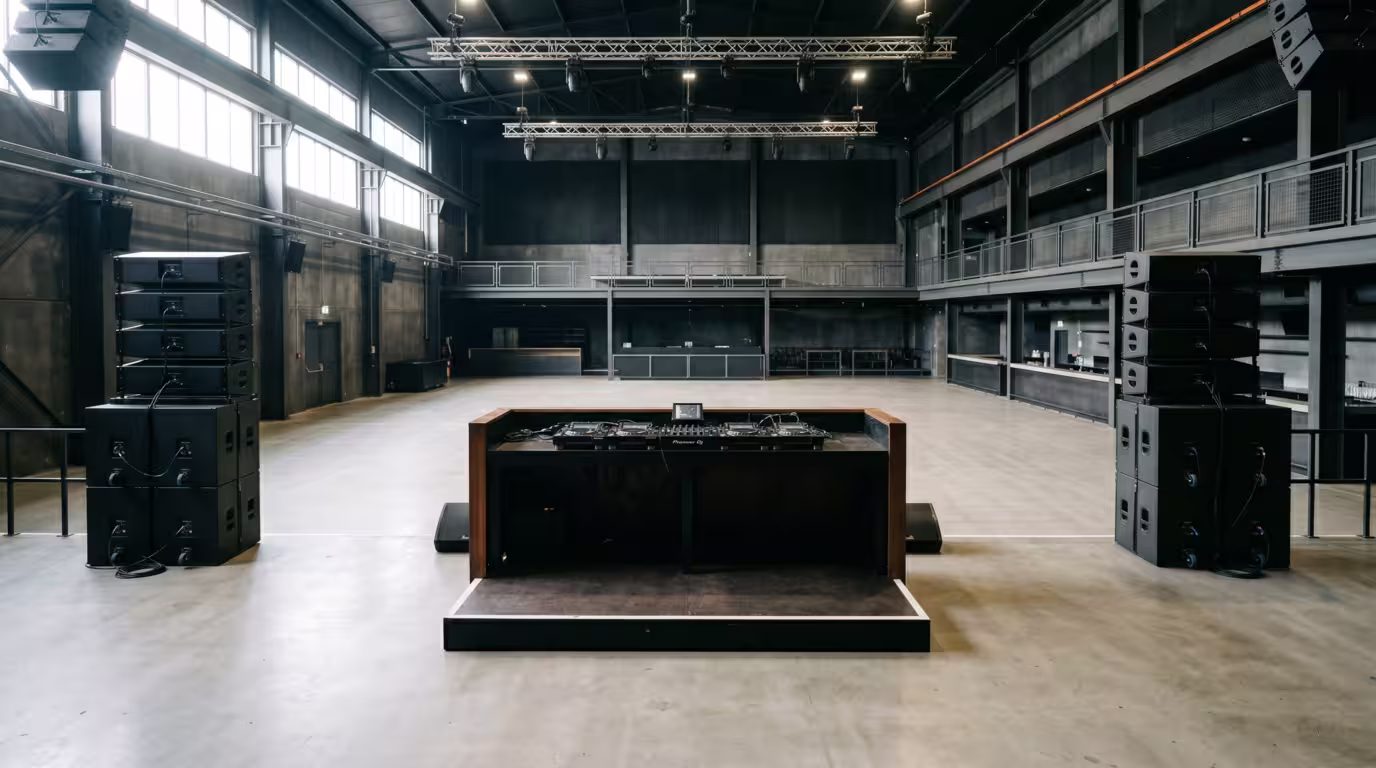
Set up your gear in the booth
First, know what you are playing on. Confirm in advance whether it is the venue's gear or whether you are bringing your own controller or laptop. Most clubs install the de-facto booth standard — Pioneer/AlphaTheta CDJ players (the CDJ-3000 in current installs) feeding a DJM mixer such as the DJM-900NXS2 or DJM-V10. If you are using house CDJs, you usually only need the club to provide a power socket and a spare channel on their mixer to plug into — your controller or DVS box is treated like any other input device.
If you are bringing gear, set it up without disturbing the current DJ. Never reach over a playing DJ to plug things in mid-set — if you need to connect a Serato or DVS interface, try to get it set up early, ideally by the sound tech, or do it cleanly during the changeover. (See Connecting to a Club Sound System for the step-by-step connection and DJ Cables and Connections for which leads to use.)
As you set up, get oriented:
• Find the master, booth-monitor and headphone controls so you know where they are in the dark.
• Note whether channels are set to LINE/DIGITAL (for CDJs/USB) or the right input for your laptop.
• Check the crossfader assignment and EQ/filter knobs — a track can be loaded with the fader up and still be silent because a crossfader is thrown to one side or a filter is engaged.
• Tidy the booth and manage your cables. Keep the space how you would want to find it, and leave room for the next DJ's bags and flightcases.
One firm rule: do not touch the system settings or the master. As one club designer bluntly advises, you should never touch the master volume in a club or festival — leave it to the sound tech, who sets it as part of their own gain-staging strategy. The booth monitor, however, is yours to adjust.
Line-check versus soundcheck
The single most useful distinction to understand is the difference between a line-check and a soundcheck. They are not the same thing, and DJs almost always get the first and rarely get the second.
A line-check is a technical check: confirming that every input is connected and passing audio. In live sound it is described as making sure all the microphones, cables and inputs are working before the show starts — purely about signal continuity, not how it sounds. A soundcheck is the performance check: running real material through the PA to set levels and tone in the actual room. As Soundstage Studios frames it, the line-check is the technical necessity that confirms the whole system is operational, whereas the soundcheck is where the real work happens — where performers hear themselves clearly and adapt to the room's acoustics. A common piece of pro advice is to always do a thorough line-check first, so you are never chasing a dead channel while you are already on stage.
The cleanest way to do a DJ line-check is quietly, using the headphone cue. The cue (PFL, pre-fade listen) button routes a channel to your headphones independently of the channel fader, so you can confirm a track is loaded and passing audio without sending a sound to the dancefloor. As an audio-mixing glossary explains, pre-fade listen is taken before the fader by definition, letting you check the level and quality of a signal before fading it up — which is exactly why it is the standard tool for setting up a channel when the mixer is already live and you don't want to interrupt the main output.
The table below summarizes the difference for a DJ.
| Aspect | Line-check | Soundcheck |
|---|---|---|
| Question it answers | Does everything work and pass signal? | How does it sound in the room? |
| How you do it | Quietly, via headphone cue/PFL | Out loud, through the PA |
| When you get it | Always — during every changeover | Rarely — early arrival, festivals, your own event |
| Who leads | You | You plus the sound engineer |
The reality: little or no soundcheck
Be honest with yourself: at most club DJ gigs you will not get a proper soundcheck. The system is already running, the room may be filling, and the previous DJ is still playing right up until you take over. Your soundcheck is the line-check you perform during the changeover, trusting that the venue and engineer have tuned the PA for the room. The same club designer adds that if you think the room is too quiet or too loud, you should ask the house engineer to double-check rather than touching the master output yourself.
This is also how it works at the lower and middle of festival bills: major acts get an early line-check or soundcheck, but acts further down the bill typically just get a line-check during the changeover, which is plenty for a good crew. The practical takeaway is that you must be able to set up fast and confidently, because the changeover window — often under a minute — is all the check you will get.
So in those 30 to 60 seconds, the routine is: load your first track on a deck, hit play with the channel fader down and confirm signal appears on the mixer meters, cue it in your headphones to hear it is the right track and passing audio, set your booth monitor so you can hear yourself, match the previous DJ's levels, and then bring the fader up cleanly into the room. A useful habit, as the Heavy Hits changeover guide notes, is to leave EQ and gain pots at the 12-o'clock (neutral) position and confirm whether the outgoing DJ was using the crossfader or the channel faders, so nothing cuts out unexpectedly when you take over.
Dial in the booth monitor and headphones
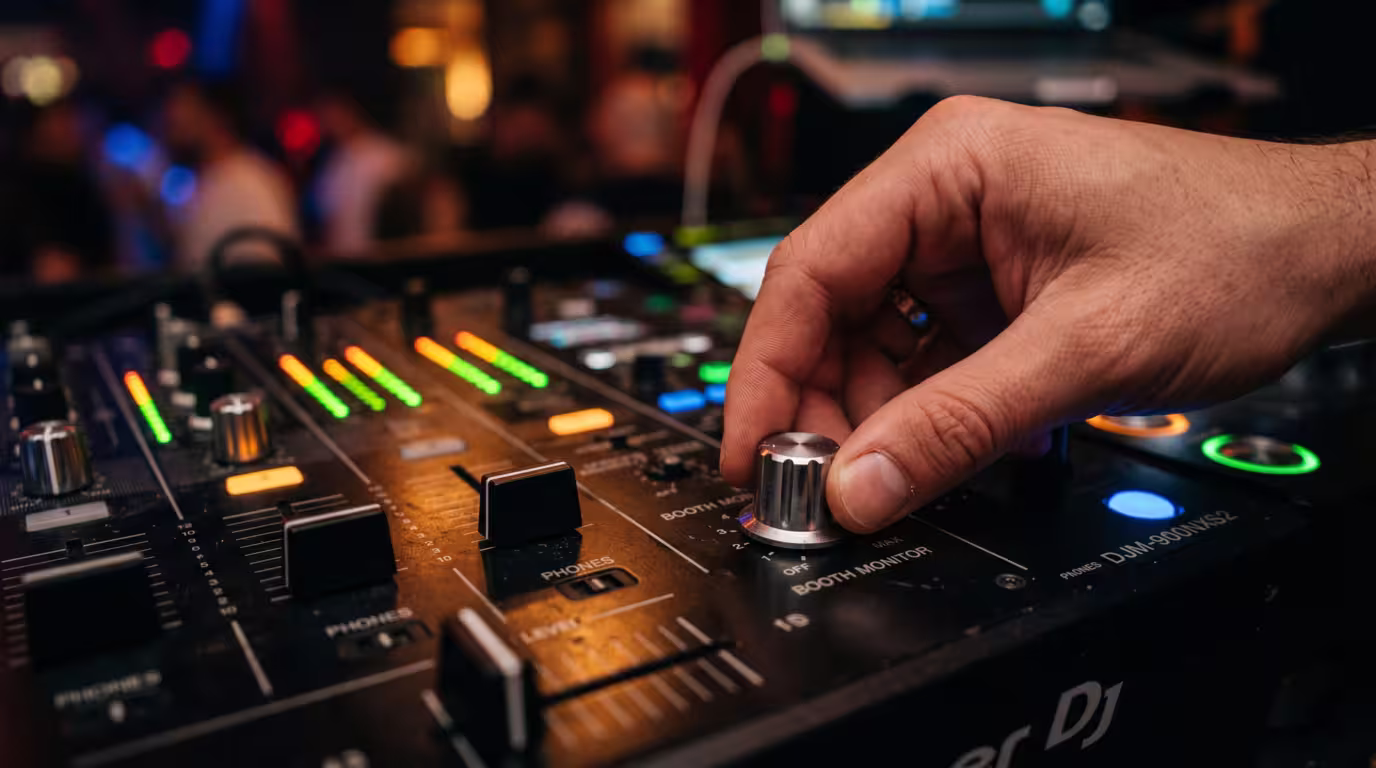
The booth monitor is your reference. It is a separate set of speakers in the booth fed by the mixer's dedicated booth/monitor output, and crucially its volume is controlled by the BOOTH MONITOR level dial independently of the master output. On a Pioneer DJM-900NXS2, the booth output is a single 1/4-inch TRS jack, and turning the BOOTH MONITOR control adjusts the level of the booth signal on its own — separate from the master. That separation is the whole point: the dancefloor can get louder through the night without forcing you to mix louder, and you can turn yourself up, down, or off without touching what the crowd hears.
This is the DJ equivalent of a stage monitor or foldback — the performer-facing speaker that lets you hear yourself rather than relying on delayed, reflected sound bouncing back off the room. Without a working booth monitor you would only hear the main PA after it has bounced around the room and mixed with crowd noise, which makes accurate mixing very hard.
When you take over, reset the booth: bring the monitor level down and then up to a level just loud enough to hear yourself clearly over the PA — no louder. Set your headphone cue level to a comfortable, matched level so beatmatching and cueing feel natural. Don't blast the booth: excessive booth volume damages your hearing over a night and tempts you to push the whole system harder. Resetting the booth periodically as the room fills keeps your monitoring honest without creeping ever-louder.
Check your levels
Levels are where setup and gain staging meet. Set each channel's trim/gain so the channel meter peaks healthily — aim for the meter tickling the first amber/orange LED (around 0 dB) rather than buried in the red. Match the level the previous DJ was running so the handover doesn't jump in volume, and leave the master to the venue or engineer.
Club systems almost always have a limiter installed to protect the speakers, which compresses the signal when it gets too hot. If you push the mixer into the red to get louder, the limiter clamps down: drops lose their punch, the sound gets more compressed and distorted, and the sound tech starts to dislike you. The fix is the opposite of redlining — set healthy levels, leave headroom, and let the system do its job. A quick level check on your first track is enough; for the full theory of trim, fader, master and metering, see Gain Staging for DJs.
Doing a fuller soundcheck when you can
Sometimes you do get real soundcheck time — you are the first DJ before doors, it is your own event, or a festival has built in a check. When that happens, make it count.
Play a track you know intimately as your reference. Engineers do exactly this: the live-sound veterans interviewed by Sound On Sound advise carrying tracks you are deeply familiar with to test the PA. A track you know inside-out reveals what the system is doing far better than an unfamiliar one. Do an initial listen on your reference material, then, if you can, walk the room. The booth is the worst place to judge the dancefloor sound, so step out and listen to how the low end and highs translate where the crowd will actually be. Note any problem frequencies, resonances or system quirks.
Then communicate. If something needs adjusting on the system, tell the engineer what you are hearing — they adjust the PA, not you. At festivals it is common for a monitor engineer to be stationed at the side of the booth purely to tweak your monitor; use them. A simple request for a bit more highs in the monitor makes you far more comfortable for showtime and marks you as easy to work with.
Working with the sound engineer
If there is an engineer or house tech, they run the system and any soundcheck — and they are your ally, not an obstacle. Introduce yourself, be friendly, and be specific about what you need: more or less booth monitor, a level reference for the room, a heads-up on the limiter. Crucially, ask for changes rather than making them yourself. The system EQ, the master, and the room tuning are theirs.
At small gigs with no engineer — a bar, a house party, a tiny venue — you are the engineer too. There you may be handed a single lead to plug into the back of your controller and set up next to a speaker that acts as your makeshift monitor. In that case do everything carefully and quietly yourself: confirm signal, set a sensible level, and don't blast the room on the first track.
What to listen for and common issues
During your line-check, run a mental checklist. Is there signal present on every channel you will use? Do your headphones and the booth monitor work? Is the level healthy, with no distortion or clipping? Do your USBs load on the CDJs (or your laptop feed the mixer)?
Listen especially for hum or buzz. A steady low hum is usually a ground-loop problem — caused when gear is connected across outlets with slightly different ground potentials — and a buzz often points to a faulty or unbalanced cable. If you hear it, check connections, make sure turntable earth leads are attached, and prefer balanced cables; DJ Cables and Connections covers the causes and fixes in detail. Spot and flag any problem to the engineer before you play, not during your set.
Common mistakes to avoid:
• Turning up late and setting up in a panic.
• Assuming the gear works without verifying — always line-check.
• Forgetting to set the booth monitor and headphone levels, then struggling to beatmatch.
• Touching the master, the system EQ, or the engineer's settings.
• Redlining the mixer to get louder and fighting the limiter.
• Not bringing backups — carry a second USB and any adapters in case something fails the check.
• Leaving the booth a mess for the next DJ.
The non-negotiable rule sits underneath all of it: always line-check before you play, even when — especially when — there is no soundcheck.
Key takeaways
• A DJ's soundcheck is mostly a fast line-check during the changeover; you rarely get a band-style soundcheck.
• Line-check = confirm everything works and passes signal (quietly, via headphone cue); soundcheck = check how it sounds in the room through the PA.
• Arrive early, assess the room, and remember a packed room sounds different from an empty one because the crowd absorbs sound.
• Set the booth monitor (your foldback) via its own level control, independent of the master, and don't blast it.
• Keep levels healthy, leave headroom for the limiter, and never touch the master or system EQ — that's the engineer's job.
• Carry a familiar reference track for when you do get to soundcheck, and always bring backups.
Ready-made, exclusive EDM tracks with full rights — released as your own.
